Tag Archive for: transition

Use this guide when preparing your gear bags for Kerrville Tri to make transitions a breeze on race day!

The layout of Kerrville Tri is different from other tri’s due to the two separate transition areas, located two miles apart. It’s important to come prepared with all your gear in the correct place to make your experience easy, and most importantly, fun! Upon receiving your packet, you will be given 3 bags designated for transition on race day, along with your race number stickers and stickers for your gear bags. It’s crucial that you place the designated sticker with your race number on the proper gear bag to make keeping track of your stuff easier. Be ready once you arrive at the race site, and use this step-by-step guide to handle Kerrville Tri transitions with ease.

Step 1

Setting up in T1, making sure his gear is good to go!

When you’re done checking-in and getting body-marked, place any clothes that you wore to the race site that you do not plan on wearing during the tri in your Green – “Morning Clothes Bag.” Then take your bag to drop it off at the assigned box truck located at T1.

Step 2

After you dominate the swim course, you’ll head into T1 to gear up for the bike portion. Once you change into your bike gear, put your swim gear (ex. goggles, swim cap, towel) in the Red – “Bike Gear Bag” and leave it on the rack where your bike was. We transport all gear from T1 to T2 during the race, so it will be waiting for you in T2 after the race.

how to prepare for two transition areas

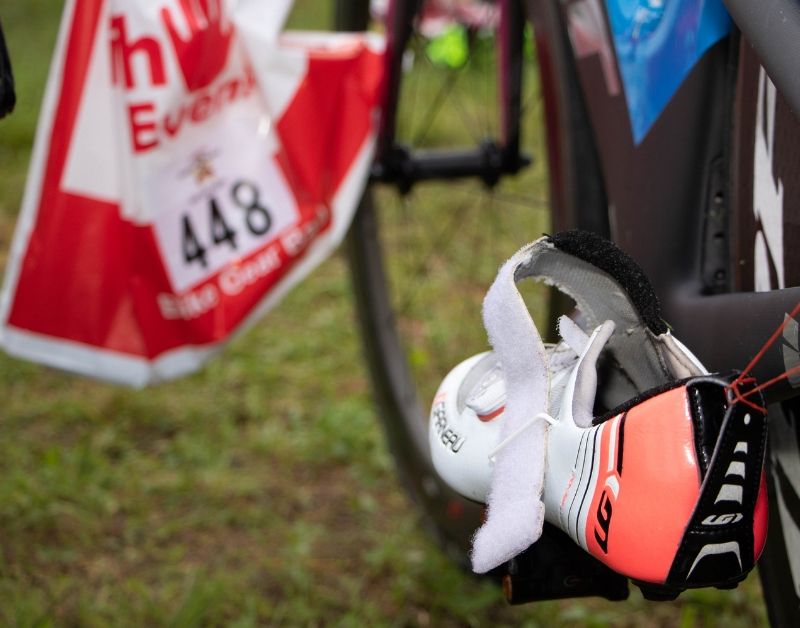
Gear bag ready to go in T1

Step 3

Prepare your Blue – “Run Gear Bag” with what you plan to wear during the run. This bag should hold all the items you need to transition from the bike to the run portion. Plan ahead because this gear bag needs to be checked into T2 on the day prior to the event! Once you change into your running gear, tie the bag to the rack and head for the run course!


Follow these tips and have your gear bags ready to ensure you have a smooth transition on race day for Kerrville Tri! We’ll see you at the finish line!

Extend the life of your wetsuit with these wetsuit maintenance recommendations

Wetsuits may help you swim like a shark, but they are actually one of the more delicate pieces of triathlon equipment. Even the most careful wetsuit owner may be shocked to find tiny nicks or tears in the neoprene that occurred during a frenzied transition. Never fear! In many cases, wetsuits can be repaired quickly and easily. Utilize the wetsuit maintenance recommendations below.

Wetsuit Glue

Wetsuit glue allows you to make minor repairs to the suit. Spread the glue on small cuts and tears that do not go all the way through the suit. Pick up the flap of the cut and put the glue inside of the hole the cut has created. Allow suit to dry for 24 hours. If cut or tear is not drying properly, place a small piece of scotch tape over the cut. Do this after the glue has been applied to allow it to dry in place.

Iron-on seam tape

Iron-on seam tape is created specifically for suits to flawlessly match the seams. Set your iron on low heat so that the wetsuit does not burn. Turn the wetsuit inside out. Cut the tape to match the size of the tear or seam separation. Place the tape glue side down on the seam or tear. Slowly apply heat with the iron until the iron-on is firmly in place. After repairing the inside of the suit, turn it right side out. Apply the glue now like in the wetsuit glue instructions above.

Wetsuit care

Taking care of small cuts as they happen will prevent them from becoming unrepairable tears that will retire your suit. There are a few wetsuit maintenance recommendations that will lessen the need for frequent repairs. Grip your wetsuit with the pads of your fingers (as though you were grabbing pizza dough). Avoid using your nails, even when they are short. This will prevent small nicks that develop over time. Also, keep your wetsuit away from hot environments like a car in the summertime so the neoprene will not melt or warp.