Let’s talk about one of the coolest additions to your bike that can make you feel like you’re flying down the road: aero bars! If you’ve ever wondered what those extra handlebars sticking out of some bikes are, why people use them, and whether you should get a pair, you’re in the right place. Let’s dive in!
What Are Aero Bars?
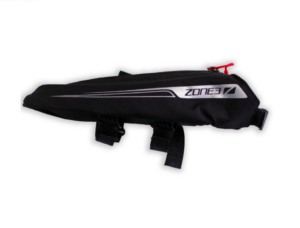
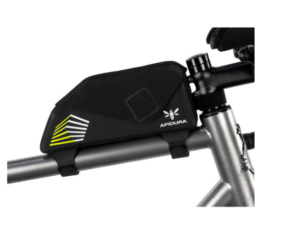
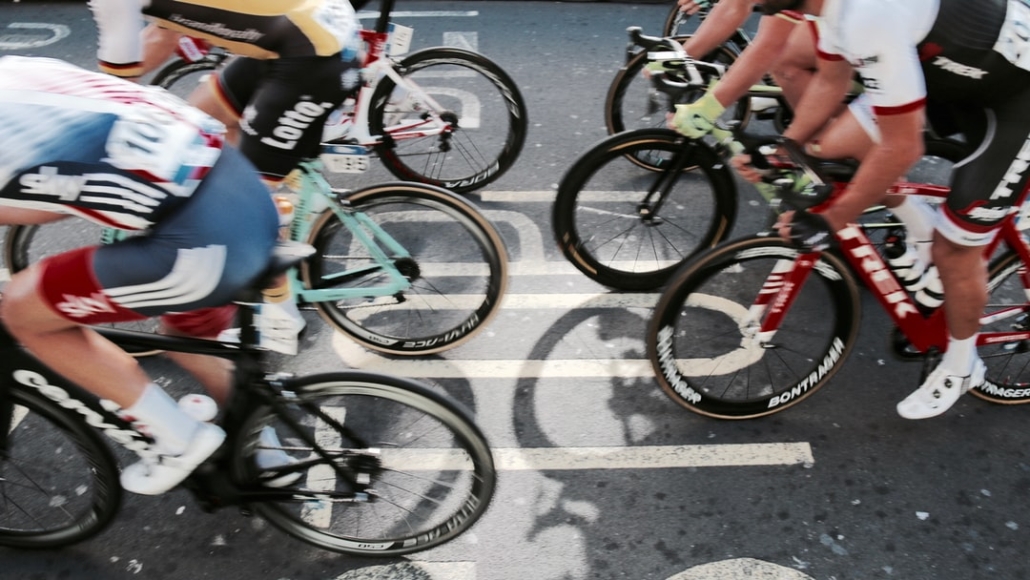
Aero bars, also known as aerobars, are handlebar extensions that allow you to ride in a more aerodynamic position. They extend forward from your handlebars, letting you lean forward and tuck your body into a streamlined position. This reduces wind resistance, helping you go faster with less effort – perfect for those long triathlon rides!
Types of Aero Bars
-
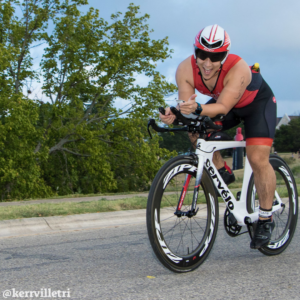
Clip-On Aero Bars:
- Perfect for Beginners: These bars attach to your existing handlebars. They’re great for those just starting because you can remove them if you decide aero bars aren’t your thing.
- Versatility: Use them when you need extra speed, and take them off when you’re just cruising around.
-
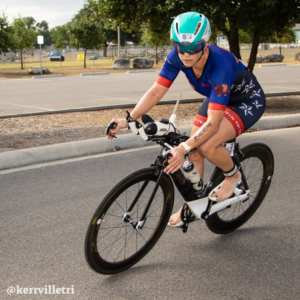
Integrated Aero Bars:
- Built-In: These are part of a bike’s design and are usually found on high-end triathlon and time trial bikes.
- Enhanced Aerodynamics: Offers a sleeker, more aerodynamic setup but can be a bigger commitment.
Why Do People Use Aero Bars?
- Speed: The main reason – they make you faster by reducing drag. In a triathlon, every second counts!
- Comfort: Believe it or not, they can also make long rides more comfortable by distributing weight differently and reducing pressure on your hands and wrists.
- Efficiency: Allows for a more efficient use of energy, crucial for saving strength for the running leg of your triathlon.
Pros and Cons of Aero Bars
Pros:
- Increased Speed: Significant improvement in speed and reduced effort.
- Comfort: Better weight distribution and less strain on the hands.
- Efficiency: Helps conserve energy for the running portion of a triathlon.
Cons:
- Control: Takes time to get used to steering and balancing in the aero position.
- Cost: Can be an additional expense, especially for integrated systems.
- Fit: Proper fitting is crucial, which can require professional help.
Getting Fitted for Aero Bars
Fitting aero bars correctly is essential. Here’s how to get it right:
- Professional Bike Fit: Investing in a professional bike fitting can make a world of difference. A professional will adjust the aero bars to match your body’s ergonomics, ensuring comfort and efficiency.
- DIY Fit Tips:
- Arm Position: Your elbows should rest comfortably on the pads, with your arms parallel to the ground.
- Reach: Adjust the length of the bars so you can reach the shifters without straining.
- Angle: Keep your body in a relaxed, natural position to avoid unnecessary strain.
Aero bars can be a game-changer for triathletes, offering speed and comfort advantages that can help you crush your personal records. Whether you’re just starting or looking to up your game, they’re worth considering. Take the time to get fitted properly and practice riding in the aero position to maximize your performance at the Kerrville Tri.