Tag Archive for: wetsuit

Here are a few precautions we take that explain how we make the swim course as safe as possible

Time trial start

The time trial start consists of starting one person at a time at approximately 2-second intervals. Participants will start with their assigned wave (eg. Intermediate, Men 40 & Over) and will line up within their wave on a first-come basis. We know open water swim courses can be intimidating, so we use this method to give the participants their own space in the water. Before each race morning, we clear any debris to ensure you don’t run into anything unexpected during your swim portion. Pro tip: build mental toughness during training and use those strategies on race day.

Bright colored swim caps are used to make you more visible in the water

Participants lining up with their age group, ready to dive in!

Swim caps

We provide swim caps to our participants according to their age group upon registration. These are the typical swim caps you would use. They are used during Kerrville Tri to keep you safe and distinguish the participants according to age group. Per USAT rules, the swim caps are always brightly colored to allow lifeguards and other participants to see you throughout the swim course.

Buoys

It can be easy to become disoriented during an open water swim, especially if you’re new to the sport. You can always count on large, brightly colored buoys as markers to keep you safe and on track during the swim. The buoys are there to help you stay on course and make you feel more comfortable in the water. Utilize the buoys by thinking of the course in segments and swim in straight lines from buoy to buoy. Pro tip: follow these 6 tips and take your training from the pool to open water before your race.

Participants swimming along the buoys in Nimitz Lake

Participants swimming along the buoys in Nimitz Lake

Lifeguards

If for any reason you should need help during the swim portion, we have kayaks with lifeguards throughout the swim course. To ensure our participants feel safe, we have lifeguards on Saturday and Sunday. Most of the lifeguards will be on kayaks. Some will be onshore in case of emergency. Knowing the lifeguards are out there will make you feel safe and extra secure when taking on the Smokin’ Good Tri swim course.

Jet skis

There are also jet skis in the water should anyone need aid quickly during the swim portion. With the lifeguards on kayaks stationed throughout the course and jet skis on standby, participants should feel safe while in the water. Pro tip: If you’re in the area before race weekend, get out to Nimitz Lake to do a mock swim!

With all these measures taken to keep swimmers safe, there shouldn’t be anything preventing you from wanting to participate in Kerrville Tri!

Extend the life of your wetsuit with these wetsuit maintenance recommendations

Wetsuits may help you swim like a shark, but they are actually one of the more delicate pieces of triathlon equipment. Even the most careful wetsuit owner may be shocked to find tiny nicks or tears in the neoprene that occurred during a frenzied transition. Never fear! In many cases, wetsuits can be repaired quickly and easily. Utilize the wetsuit maintenance recommendations below.

Wetsuit Glue

Wetsuit glue allows you to make minor repairs to the suit. Spread the glue on small cuts and tears that do not go all the way through the suit. Pick up the flap of the cut and put the glue inside of the hole the cut has created. Allow suit to dry for 24 hours. If cut or tear is not drying properly, place a small piece of scotch tape over the cut. Do this after the glue has been applied to allow it to dry in place.

Iron-on seam tape

Iron-on seam tape is created specifically for suits to flawlessly match the seams. Set your iron on low heat so that the wetsuit does not burn. Turn the wetsuit inside out. Cut the tape to match the size of the tear or seam separation. Place the tape glue side down on the seam or tear. Slowly apply heat with the iron until the iron-on is firmly in place. After repairing the inside of the suit, turn it right side out. Apply the glue now like in the wetsuit glue instructions above.

Wetsuit care

Taking care of small cuts as they happen will prevent them from becoming unrepairable tears that will retire your suit. There are a few wetsuit maintenance recommendations that will lessen the need for frequent repairs. Grip your wetsuit with the pads of your fingers (as though you were grabbing pizza dough). Avoid using your nails, even when they are short. This will prevent small nicks that develop over time. Also, keep your wetsuit away from hot environments like a car in the summertime so the neoprene will not melt or warp.

Getting out of your wetsuit efficiently can save you time

You exit the water and are ready to head to transition, but first your wetsuit. Getting out of your wetsuit can be tricky, especially if you panic and don’t focus on the task at hand. This will slow you down and lead to an extended stay in transition. Use the tips and steps below to ensure a smooth wetsuit removal.
 

3 Steps to Follow

1. Begin by releasing the Velcro closure on your collar. Take your opposite hand and slowly use the ripcord to pull down on the wetsuit. Imagine that you are unzipping your wetsuit in slow motion. Fast, uncontrolled jerks will add time to this process and only slow your transition.
 
2. Start to turn the wetsuit inside out. This entire process can be completed while you are exiting the water and finding your bike in transition. Your wetsuit should be rolled down and hanging off your waist by the time you reach your bike rack.
 
3. When taking off the bottom portion of the wetsuit, remember to use your arms. Do not use opposite legs when getting out of your wetsuit. Standing on the wetsuit could cause pavement, sand, or any other surface to puncture the wetsuit.
 
Learn more about taking care of your wetsuit, including how to properly put it on in our blog post entitled Getting into Your Wetsuit.

If you are considering using a wetsuit for a triathlon, there is a lot to know going into it. Be sure and review the rules and research the water temp where you will be swimming. Wetsuits can be a big investments and a little tricky to start out so, if you are having trouble or this is your first time, read the steps below on how to get into your suit properly without damaging it.

CAUTION: When getting into your wetsuit, sharp objects can penetrate the rubber of your performance wetsuit. Long fingernails and other sharp objects could make small cuts in the surface of your wetsuit if caution is not exercised. These small cuts are not covered under the manufacturer warranty and are the responsibility of the owner. When trying on a wetsuit, it is best to clip fingernails and/or to be especially aware of your nails.

9 Steps to make putting on a wetsuit easier:

1. Step into the suit with the zipper facing behind you.

Image result for putting on wetsuit

2. If you are having trouble getting the wetsuit over your foot, you can put a plastic grocery bag over your foot and then pull on the wetsuit. Pull the legs of the wetsuit about 1-2 inches above your ankle.

3. Raise the fabric up around your waist. Work the wetsuit towards your crotch area until all air pockets have disappeared. For an ideal fit, the wetsuit should feel snug and almost tight around the waist and legs.

4. Lift the wetsuit up around your arms or shoulders depending on the wetsuit model.

5. For a full suit (long sleeve), pull the sleeves 1-2 inches past your watch or wrist area. When pulling on the sleeves, pull on the rubber between the elbow and shoulder.

6. To maximize the range of motion and comfort in the water, it’s important to take your time fitting the arms. Point your arms to the sky and start working the material towards your shoulder. The fit is correct when there is no gap between the wetsuit and your armpit. Excess rubber should reside above the shoulder. Repeat for both arms.

7. Have a second person zip and secure the collar. Ask the person assisting you to be careful that the zipper does not catch in the protective back flap. Having another person secure the back mechanisms will prolong the life of the rubber and help prevent your zipper from getting stuck in the closed position.

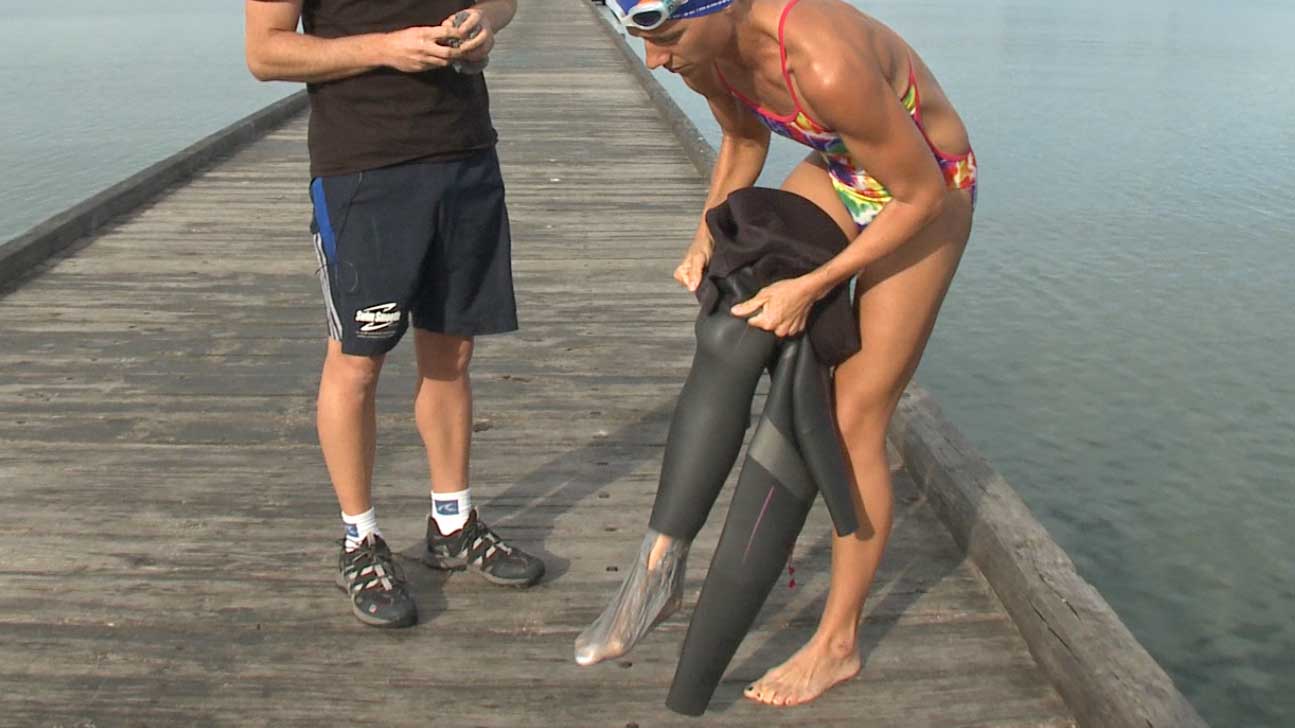
8. The wetsuit should feel tight around your neck causing the wetsuit to move with the neck. If your neck moves freely inside of the wetsuit, readjust the collar. If you choose to use lubrication products, make sure it is a non-petroleum based lubricant.

9. A proper fit should feel almost uncomfortably tight out of the water. The suit will naturally expand and become more comfortable once in the water and in a proper swimming position.


Follow these steps and getting into your wetsuit will get easier over time. The advice will also help prolong the life of your wetsuit. Take care of it and it’ll take care of you, be sure to wash it and hang dry! After you swim be sure to follow these steps to get out of your wetsuit and be sure to follow our care tips after.